
Overview
A funding source refers to the entity responsible for paying for services. Common sources include insurance companies, government programs, such as Medicaid, school districts, or direct payments from patients or their families.
Adding a funding source is the first step to adding an authorization. This article will review how to add a primary and secondary funding source.
Prerequisites
Patients and contracts must be entered into Motivity before you can add a funding source.
Adding a Funding Source
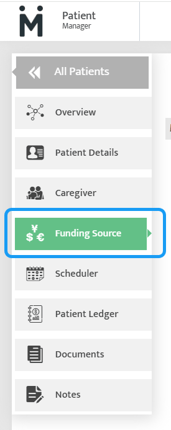
To navigate to the funding source:
-
Click on the black Motivity "M" in the top-left corner.
-
Select "Patients" and click on the patient to whom you would like to add a Funding Source.
-
Select "Funding Source"
To add a funding source:
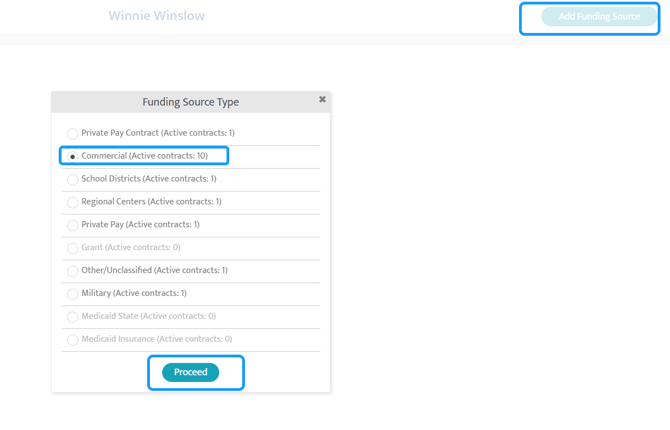
- Select the blue "Add Funding Source" button in the top-right corner
-
A pop-up will generate, requesting you select a funding source type.
-
Select the type of funding source and click "Proceed". For this example, we will select "Commercial."
-
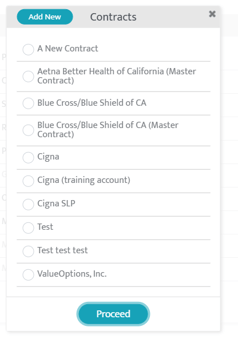
This will generate a list of contracts you have through that specific funding type.
- Select the contract that is relevant to the patient and click "Proceed".
Note: A contract will not appear in this list until it is added to Motivity and all the required fields are completed.
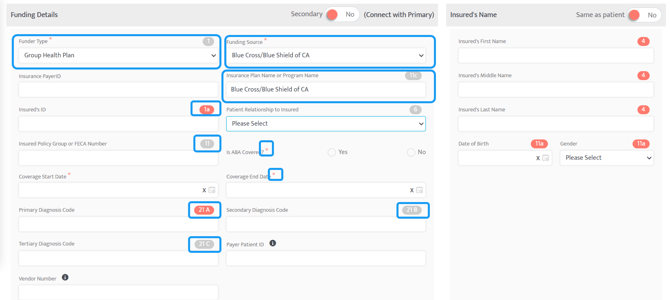
Funding Source Details Form
The Funding Source Details Form is a crucial part of the patient profile setup. This is where you input and manage the necessary information regarding the patient's coverage and payors.
Notes about the form:
-
To fill out the funding details form, you will need information from the client's insurance card/funder.
-
These 3 boxes (see below) will be automatically filled based on the chosen contract.
- All mandatory fields are indicated by a red asterisk and orange number bubbles.
- The gray number bubbles should be filled out if that field is relevant to the patient.
- The numbers in the orange and gray bubbles indicate where this information will be displayed in the 1500 claim form.
- After filling in the details, scroll to the bottom of the page and click "Save".
You will now see a "+ Authorization" button. To add an authorization, please refer to the Authorizations article.
Editing the Funding Source details form
Click on the pencil icon here to edit the funding details information.

Adding a Secondary Funding Source
Motivity Practice Management supports adding multiple funding sources for a patient, including both primary and secondary payers.
Add a Secondary Funding Source:
- Begin by adding a secondary funding source the same way you would add a primary funding source.
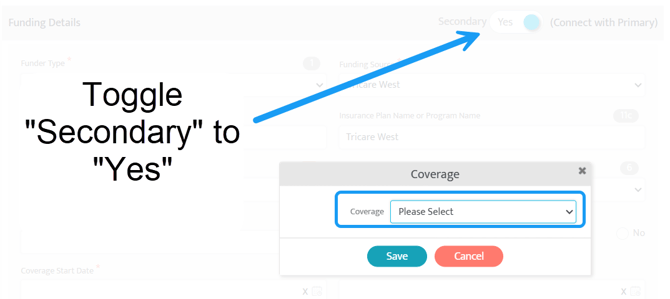
- At the top of the funding source details page, toggle "Secondary" to "Yes".
- This will create a pop-up asking you to choose a primary source to link to from a dropdown menu.
- Select the coverage and then click "Save".
Automated Billing Sequence:
- After the payors are linked, Motivity manages the billing sequence by submitting claims to the primary payor first and then to the secondary payor as needed, ensuring claims follow the selected billing hierarchy.
Last Updated: 2/5/26 by Kasey Kramer