
Why this matters:
Completing this process correctly ensures that your providers receive their login credentials promptly and that their profiles are accurately mirrored across both administrative and clinical interfaces.
Adding a Provider
Please follow these steps to register a new provider:
-
Access the Menu: Click the black "M" icon located at the top-left of your screen.
-
Navigate to Providers: Select the Provider Module from the menu options.
-
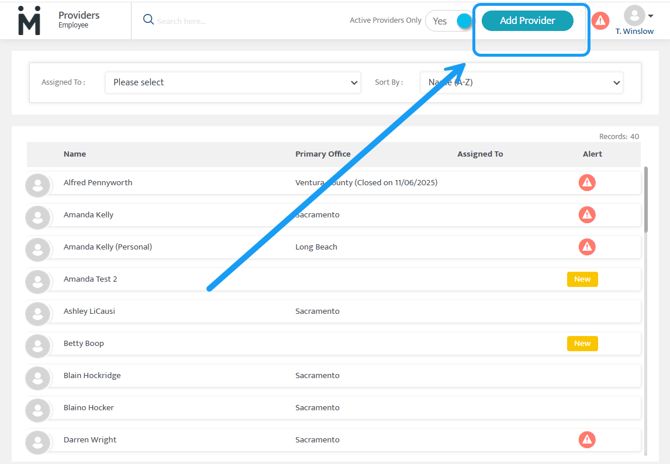
Create New Entry: Click the Add Provider button in the upper-right corner.
-
Enter Basic Information: You will be directed to the Provider Basic Info page. If you do not have all the details on hand yet, you can simply complete the required fields (marked with a red asterisk):
-
Status
-
First and Last Name
-
Primary Email
-
Job Title/Designation
-
-
Save and Continue: After clicking Save, the Employment Info page will open automatically.
-
Assign a Service Location: Select Add Service Location to link the provider to an office.
-
Note: While providers can be assigned to multiple offices, you must designate one as their Primary Office.
-
-
Finalize: Click Save to complete the setup.

Post-Creation: What to Expect
Once you save the profile, the system automatically handles the following:
-
Email Invitation: An automated invitation is sent to the provider’s primary email address, allowing them to create their login credentials.
-
System Sync: The profile is synced with Motivity's clinical interface, and a corresponding Member profile is created automatically. This allows the Provider to toggle back and forth between PM and Clinical.
Last updated by: Tatum Winslow 12/30/25