Overview
To successfully render your appointments, it is imperative that you link your session note to its corresponding appointment.
Finding Appointments in Clinical
First, you need to know how to find your appointments in Clinical
- Go to your home page
- There is an "Appointments" tab on your dashboard
- The number within the circle indicates how many appointments you have that day
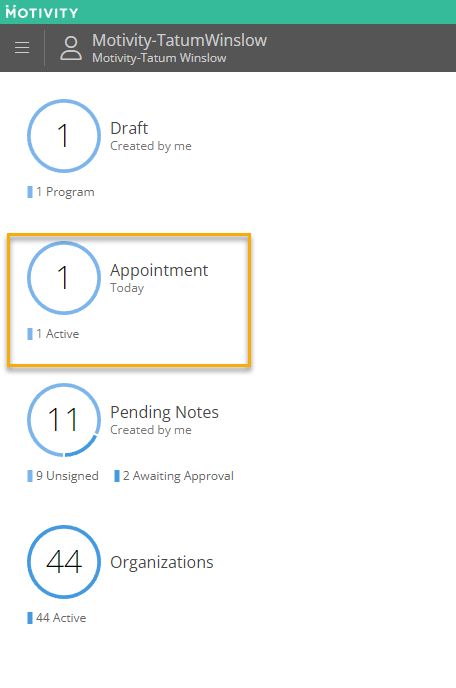
- Click on "Appointments"
- This will display all your appointments for the day
- Use the arrow buttons to see appointments in the future and past
- Use the calendar button to see appointments from any day
- Use the "Today" button to return to today's appointments
- Click on your relevant appointment to be taken to the learner's dashboard

Linking Session Notes
Next, you will need to create a session note and link it to an appointment.
- Either during or after your session, click "+ Note"
- Select your note template
- Select your appointment from the pop-up
- Selecting the appointment button will automatically link the note to your appointment in Motivity's Practice Management

Rendering Your Appointments
Finally, render your appointment by completing the note and collecting all required signatures.
- Complete your session note
- Sign the note by selecting the "Sign" icon at the top of the page
- If required, collect any caregiver signatures
- This is denoted by a purple bar at the top of the page. If you do not see the purple bar, you likely do not need to collect a caregiver signature.
- Upon colelcting all the required signatures, Clinical sends the note to PM and the appointment automatically renders itself.
- If a supervisor review signature is required as part of the approval process, the appointment will render after the final approval signature is entered.
- You can see that an appointment is rendered by the green coloring and that a session note and signature have been attached by the checkmark icons.
Last Updated: 5/19/26 by Tatum Winslow