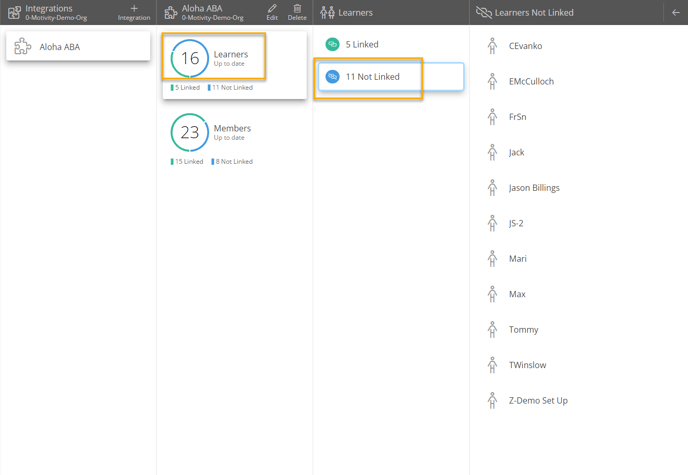
Linking Learners
You will follow the same process as linking staff.
- Click on the "Clients" tab in Aloha
- Follow the process for linking automatically (see Step 2 article for reference)
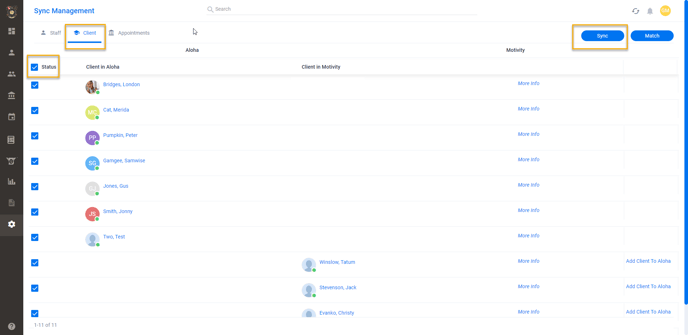
- Check the learner list in Motivity to determine which learners did not link automatically
- Remember, automatic linking works when there are three pieces of matching identifying information across both systems (ex: first name, last name, date of birth)
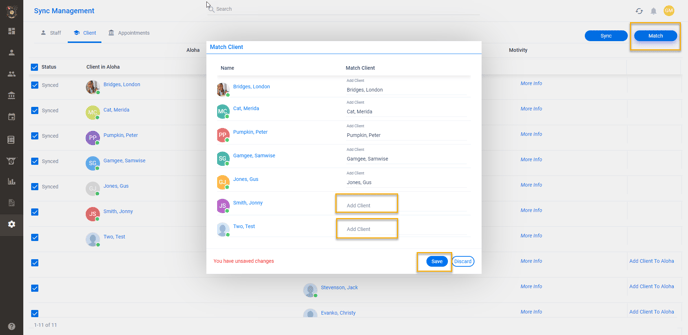
- Manually link learners as needed
Now let's link appointments!
Linking Appointments
- Click on the "Appointments" tab at the top of the page
- Click on the date range search bar
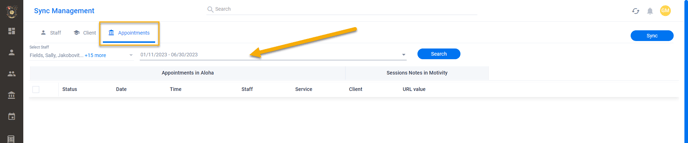
- Use the calendar to mark a start and end date
- Use a date range that encompasses all existing appointments in Aloha
- ex: You have appointments scheduled until the end of the current auth period. Be sure to encompass that auth period in the date range
- Click Search
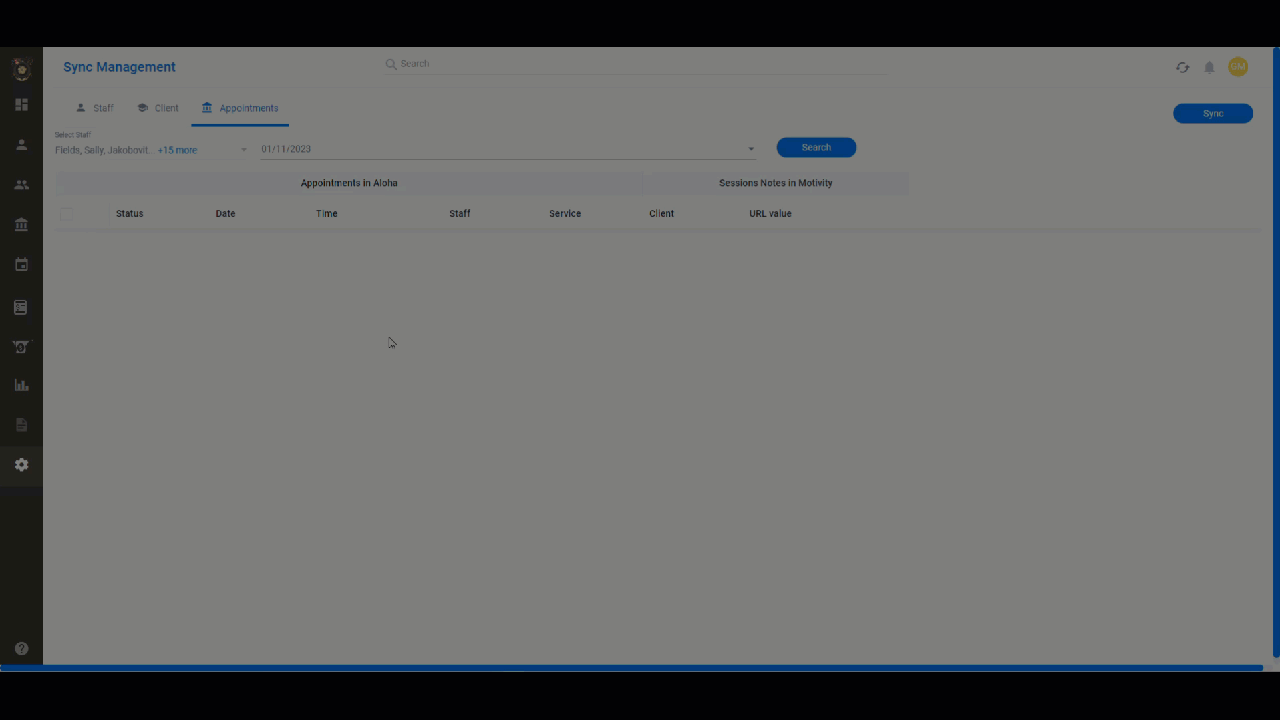
- This will bring up a list of appointments that fall within the date range
- Click the "Status" button to select all
- Click "Sync"
- You will not need to sync new appointments moving forward, this will happen automatically
